
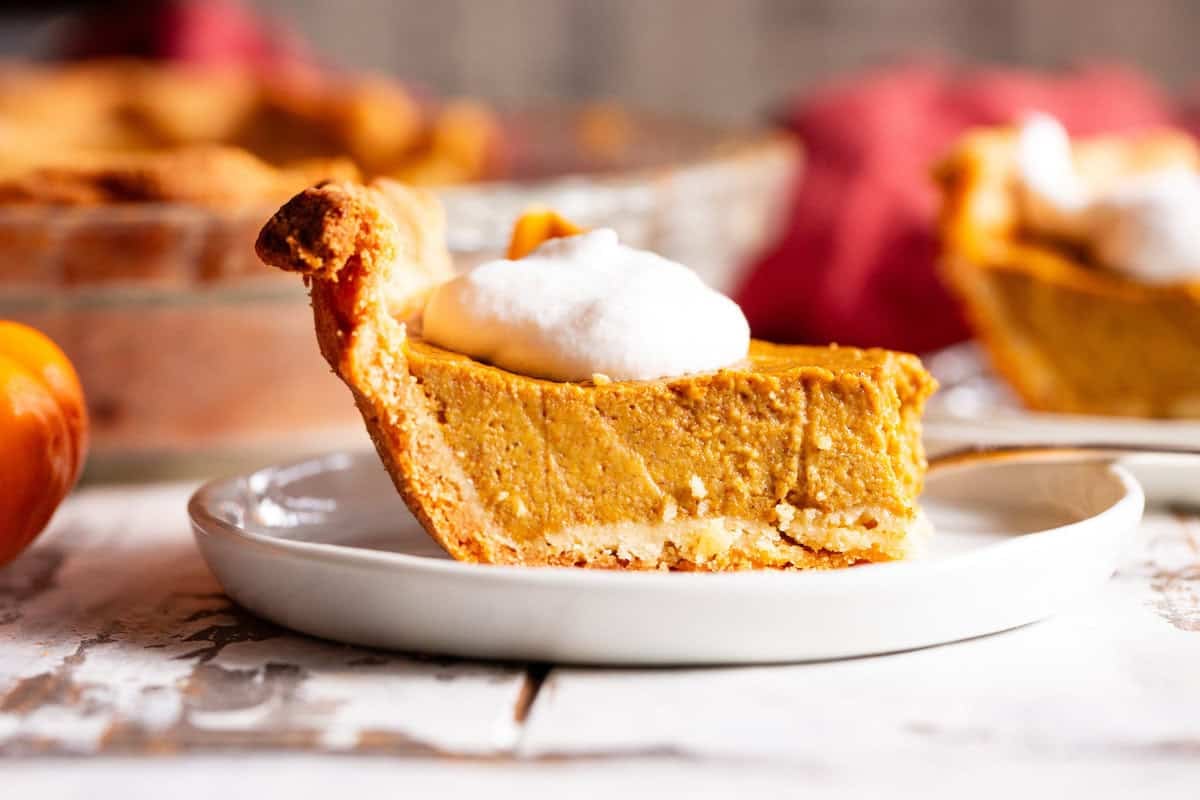
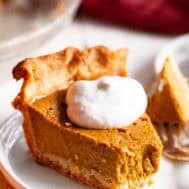
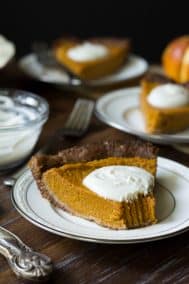
This classic Paleo Pumpkin Pie is just as delicious as any traditional pie you’ve made! A buttery, flaky paleo pie crust is filled with creamy dairy free pumpkin custard and baked to perfection for a delectable holiday dessert. Great with coconut whipped cream, gluten free, grain free, family approved!
Want more paleo baking recipes that taste just like the real deal? Purchase my book, Paleo Baking at Home here!
I’m not sure I really have “themed” weeks where all three recipes posted are somehow related to each other, but this week I just can’t help myself!
The theme of the week? Paleo versions of classically delicious holiday desserts!
Okay, in truth, I’ll be posting more than just 3 holiday dessert recipes before the New Year hits (I mean obviously!).
But, I worked really hard on perfecting these few over the past couple of weeks, and, I just HAVE to share them back to back.
And, by “perfecting”, I’m talking about testing, which, in the case of this paleo pumpkin pie, meant I made 4 pumpkin pies in one week.
All before September 1st rolled around, if you can imagine. So, yes, I’m really feeling the need to share already!
You might be wondering why this pie needed 4 rounds before getting the thumbs up. Especially when I actually already have an old pumpkin pie recipe on the site! The first answer to that is, my standards for paleo baking have changed over the past 3 years or so.
At first, if I could make something that sort of tasted like the original, that was good enough for me. But now? I’m a paleo baking perfectionist, because I’ve personally witnessed how true to the original versions paleo desserts can be.
It’s pretty amazing how you can use real-food ingredients and still come out with a finished product that no one can guess are grain free, dairy free, and refined sugar free.
So, standards raised, I test everything until I come up with something I know you (and your families, including the non-paleo members) will love.
Step 1 – the crust. This is where I diverted far away from my original paleo pumpkin pie. I used a recipe nearly identical to my easy pie crust.
I added maple sugar, plus used a combination of 2 types of fat – palm oil shortening and grass-fed butter. You can also use just one or the other instead of both.
I sadly did not have success using coconut oil for the crust recipe.
Trust me, I try to use coconut oil whenever I possibly can, and it just doesn’t make for a great crust – greasy while baking and crumbly. Two thing you probably want to avoid when serving guests!
If you can’t have dairy at all, using all palm oil shortening is a great option.
Second, we have the filling! Now, I didn’t change the filling much from my original version. But, I did tweak the filling to work better with my crust for a tastier, creamier, pumpkin spice-ier (?) filling.
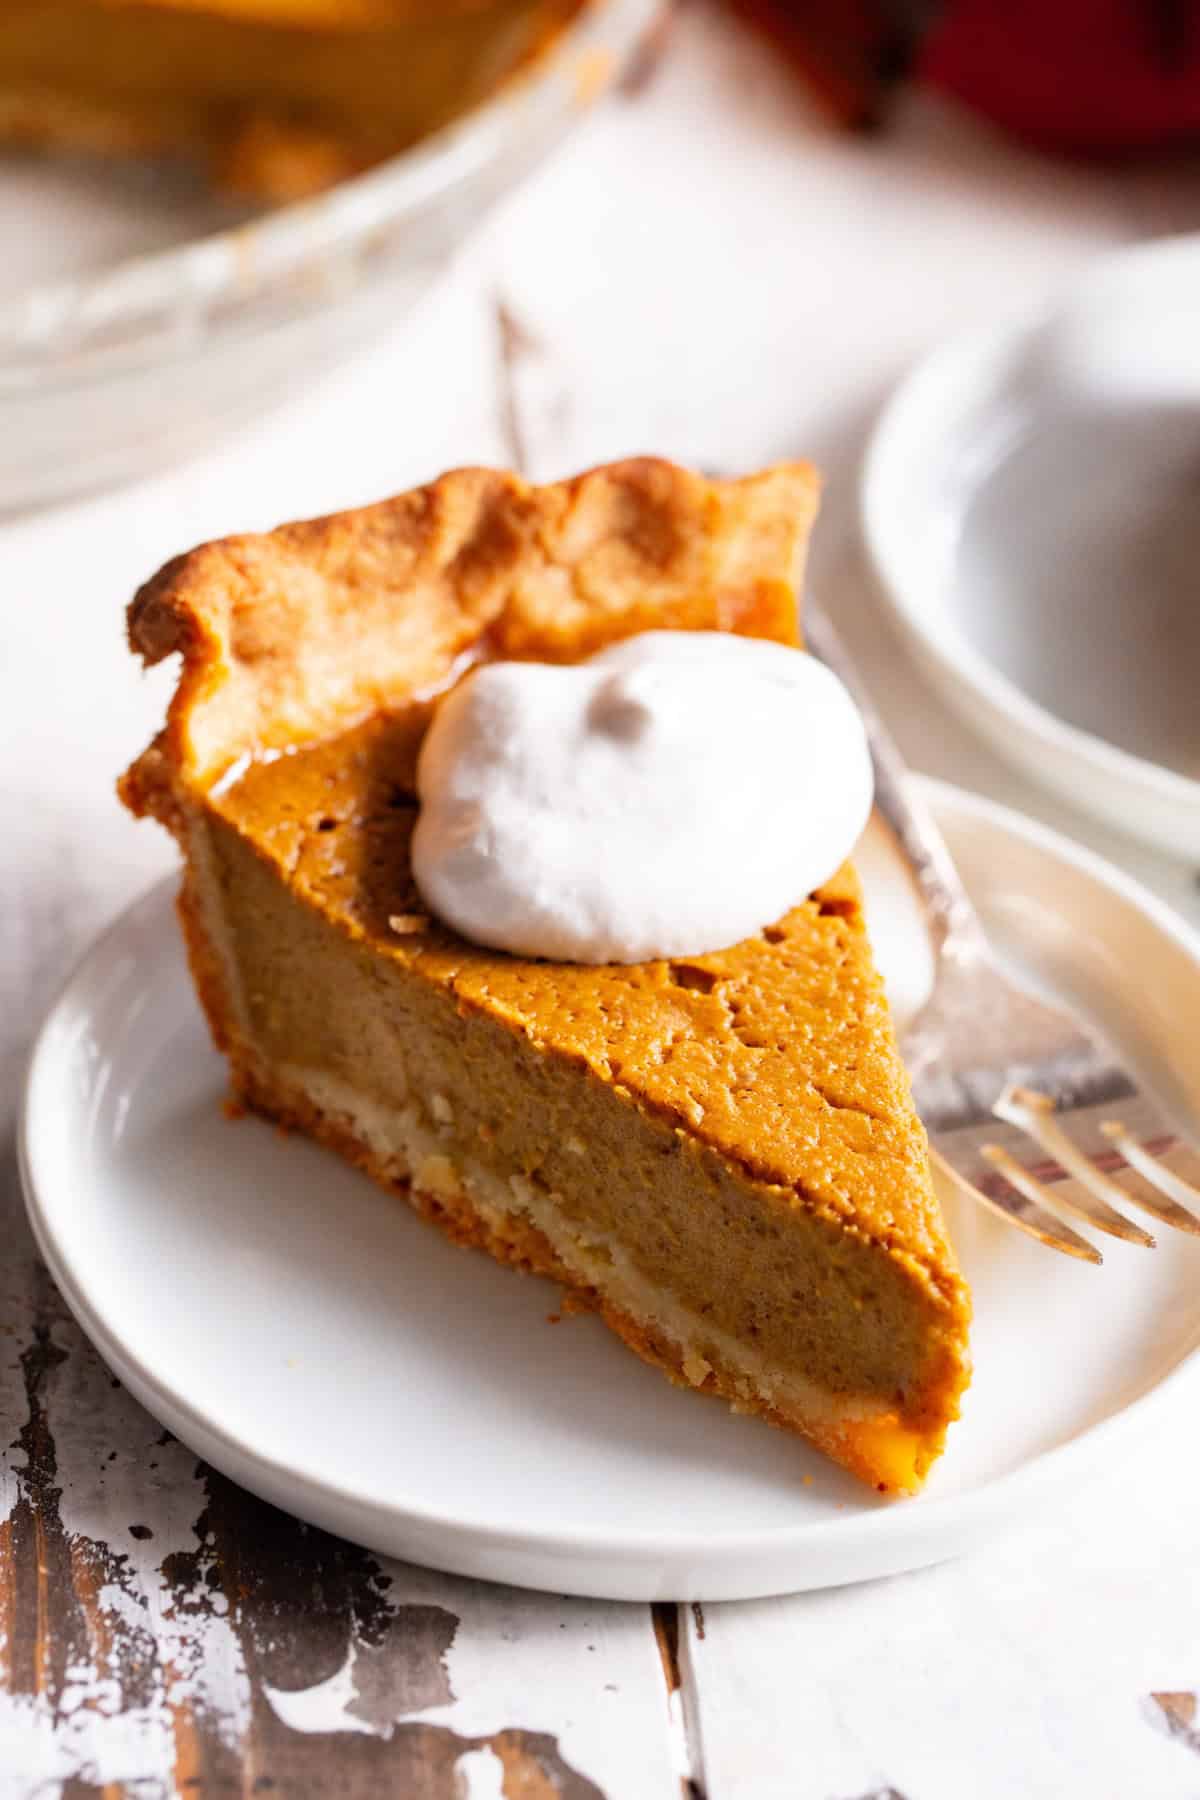
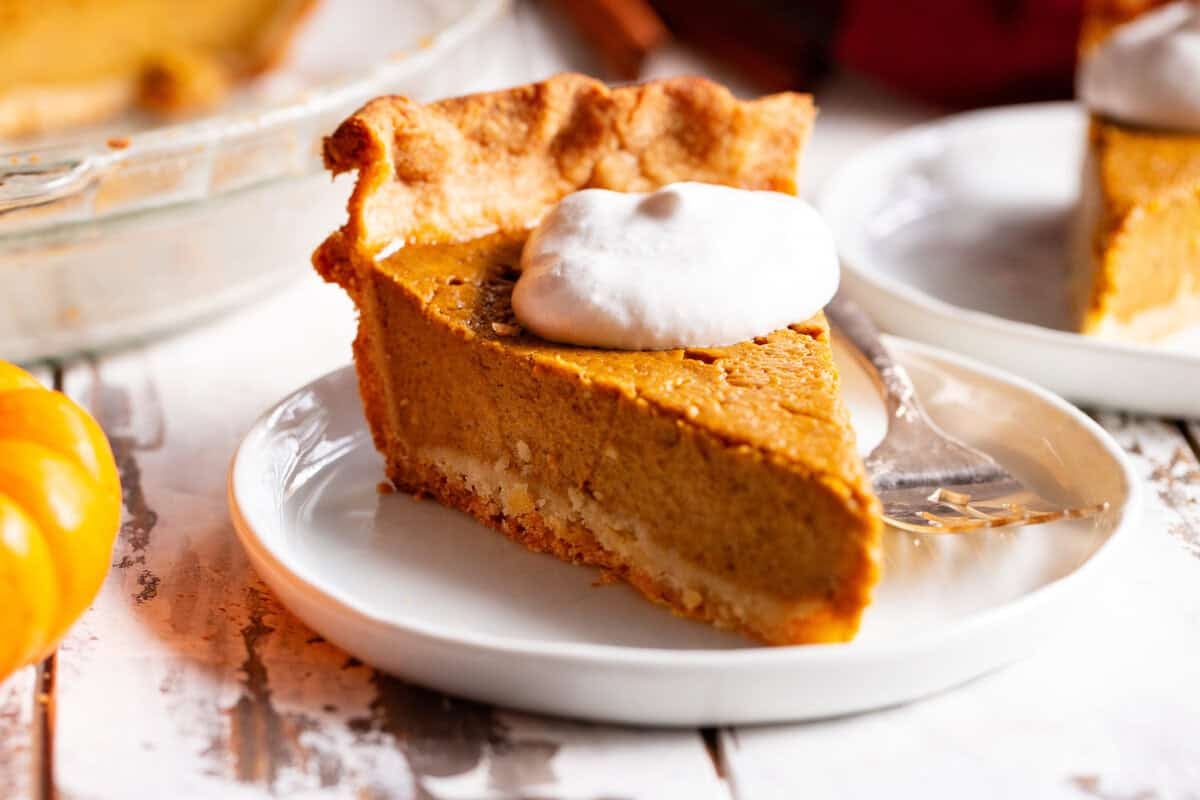
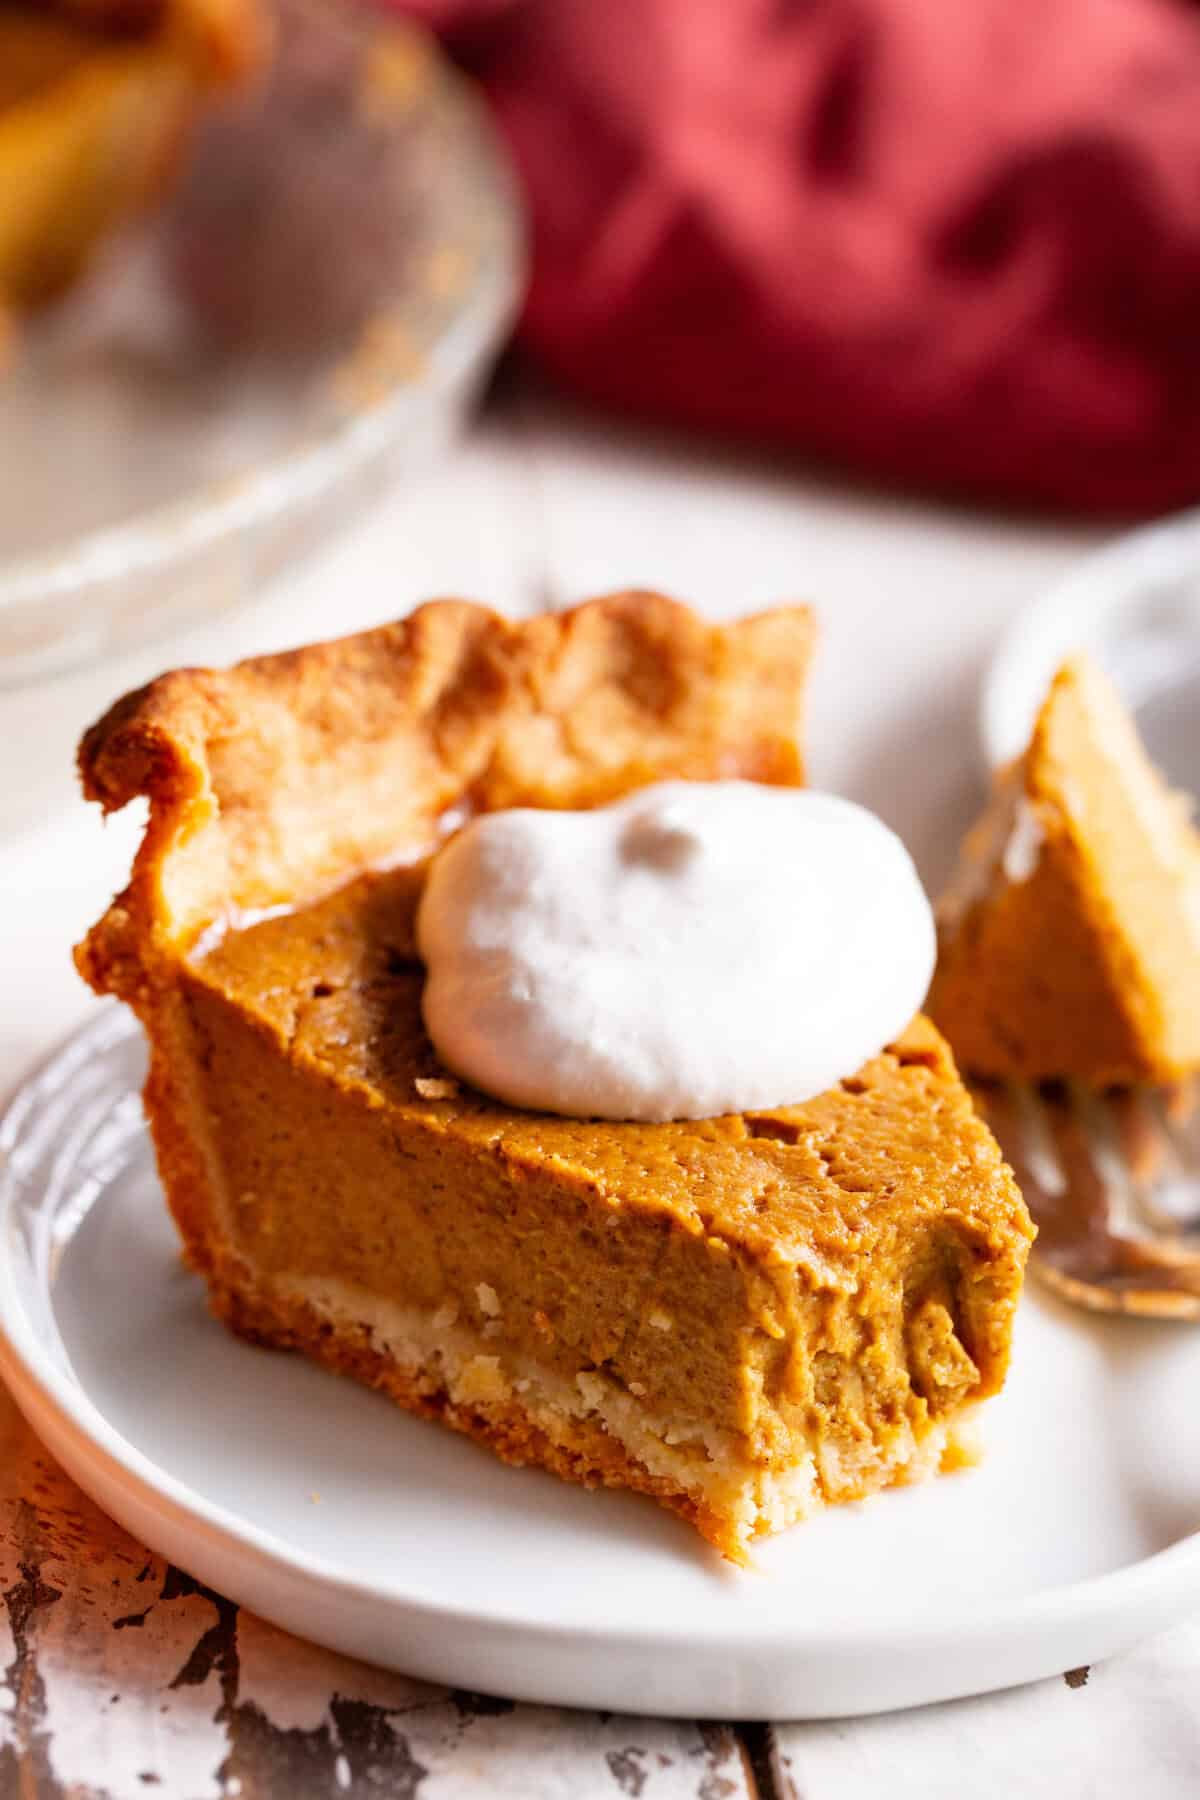
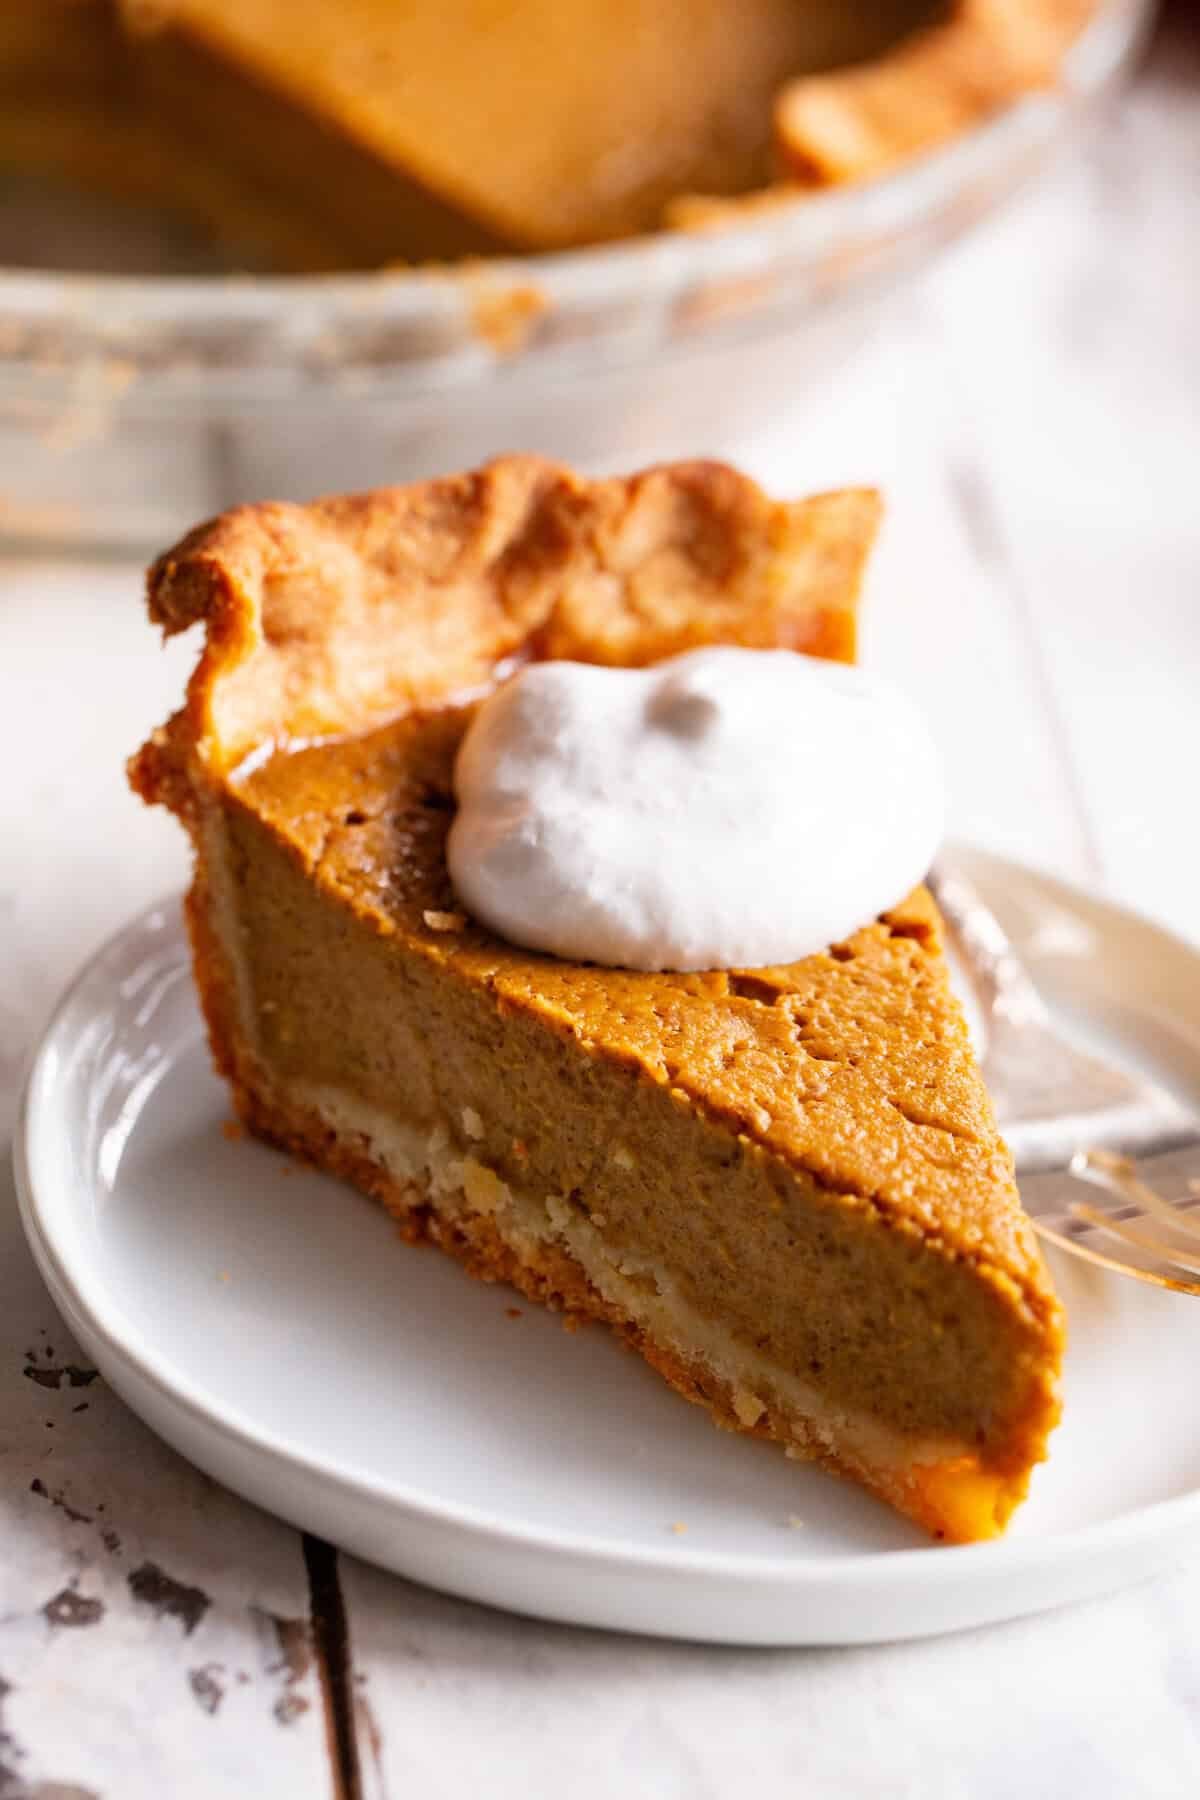
It’s a mixture of organic pumpkin puree, pure maple syrup, a good dose of pure vanilla extract, thick creamy full fat coconut milk, 3 eggs, plus lots of pumpkin spice and cinnamon.
Make sure your eggs are at room temperature for this one to get a nice creamy custard after baking – one other mistake I made that cost me one of the pies – eek!
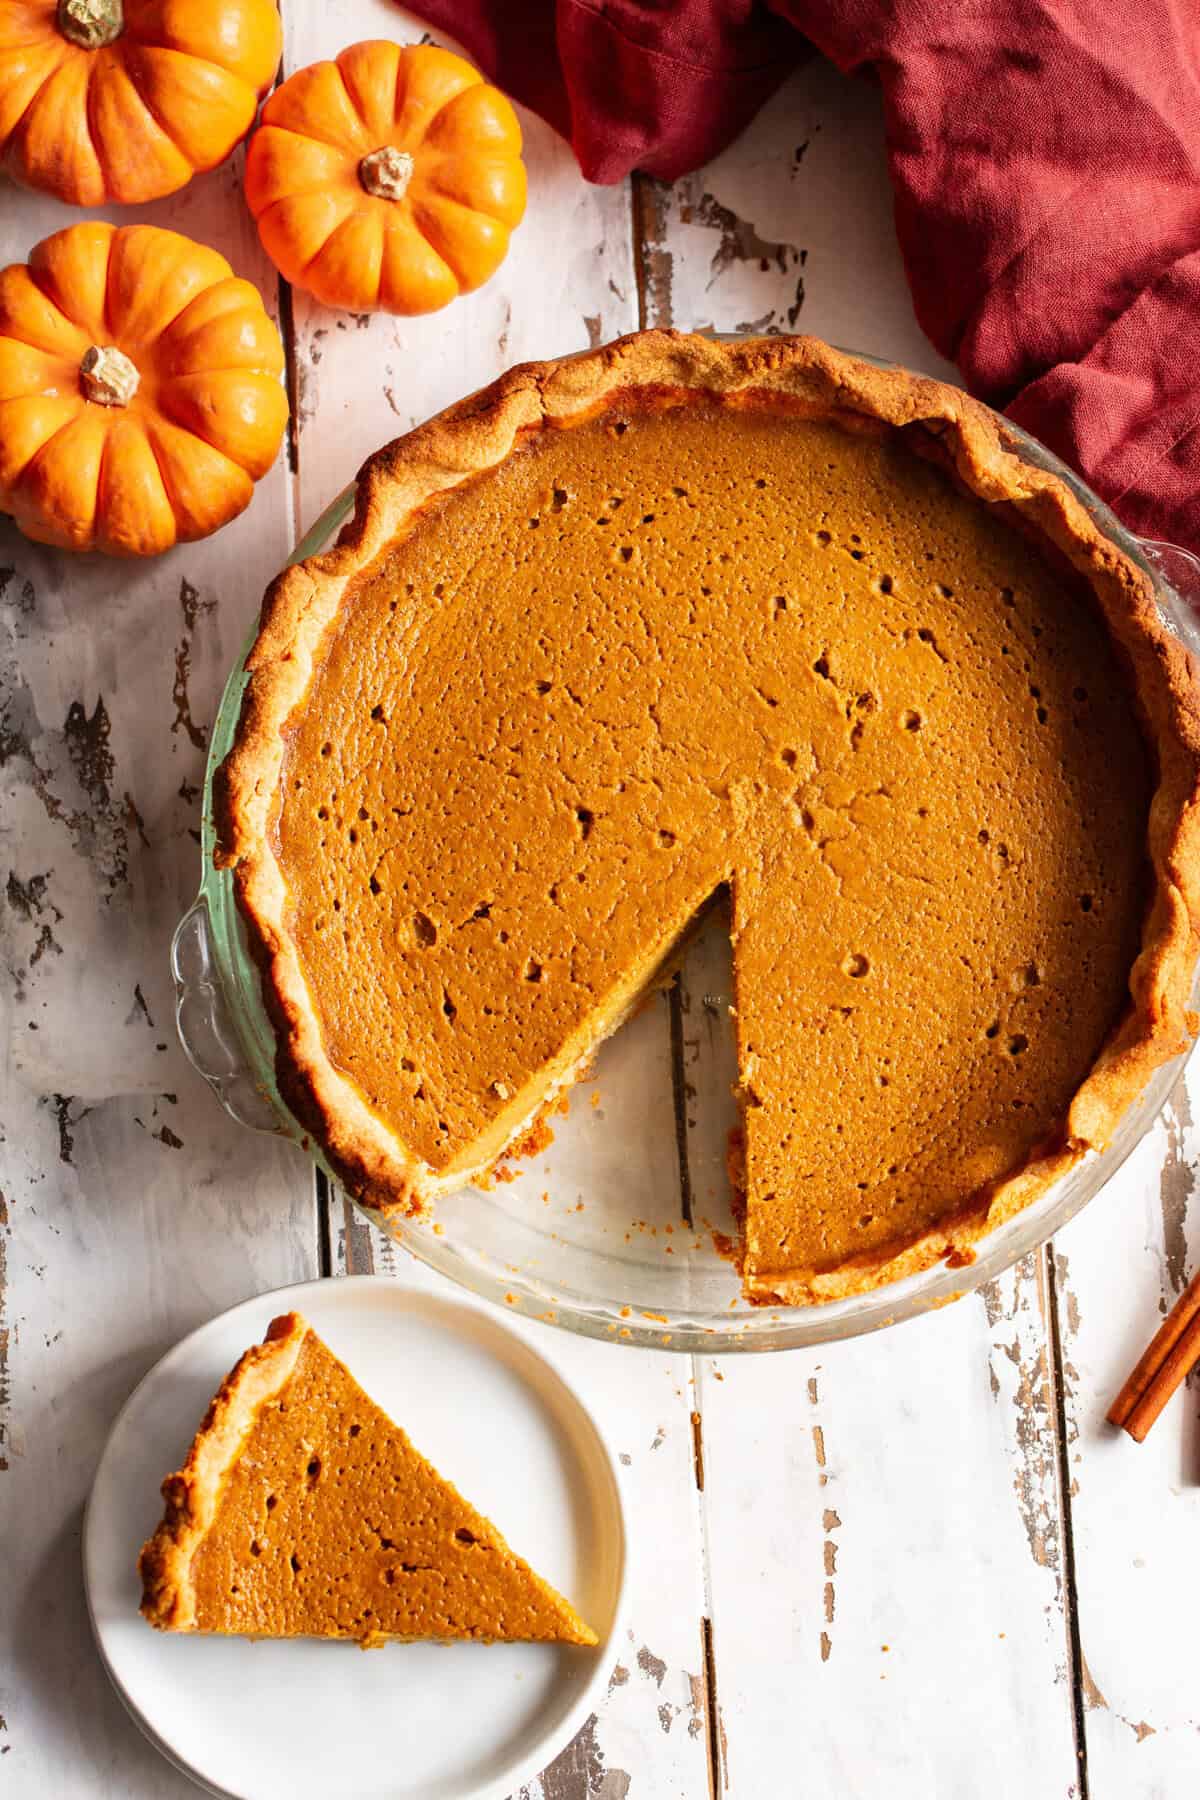
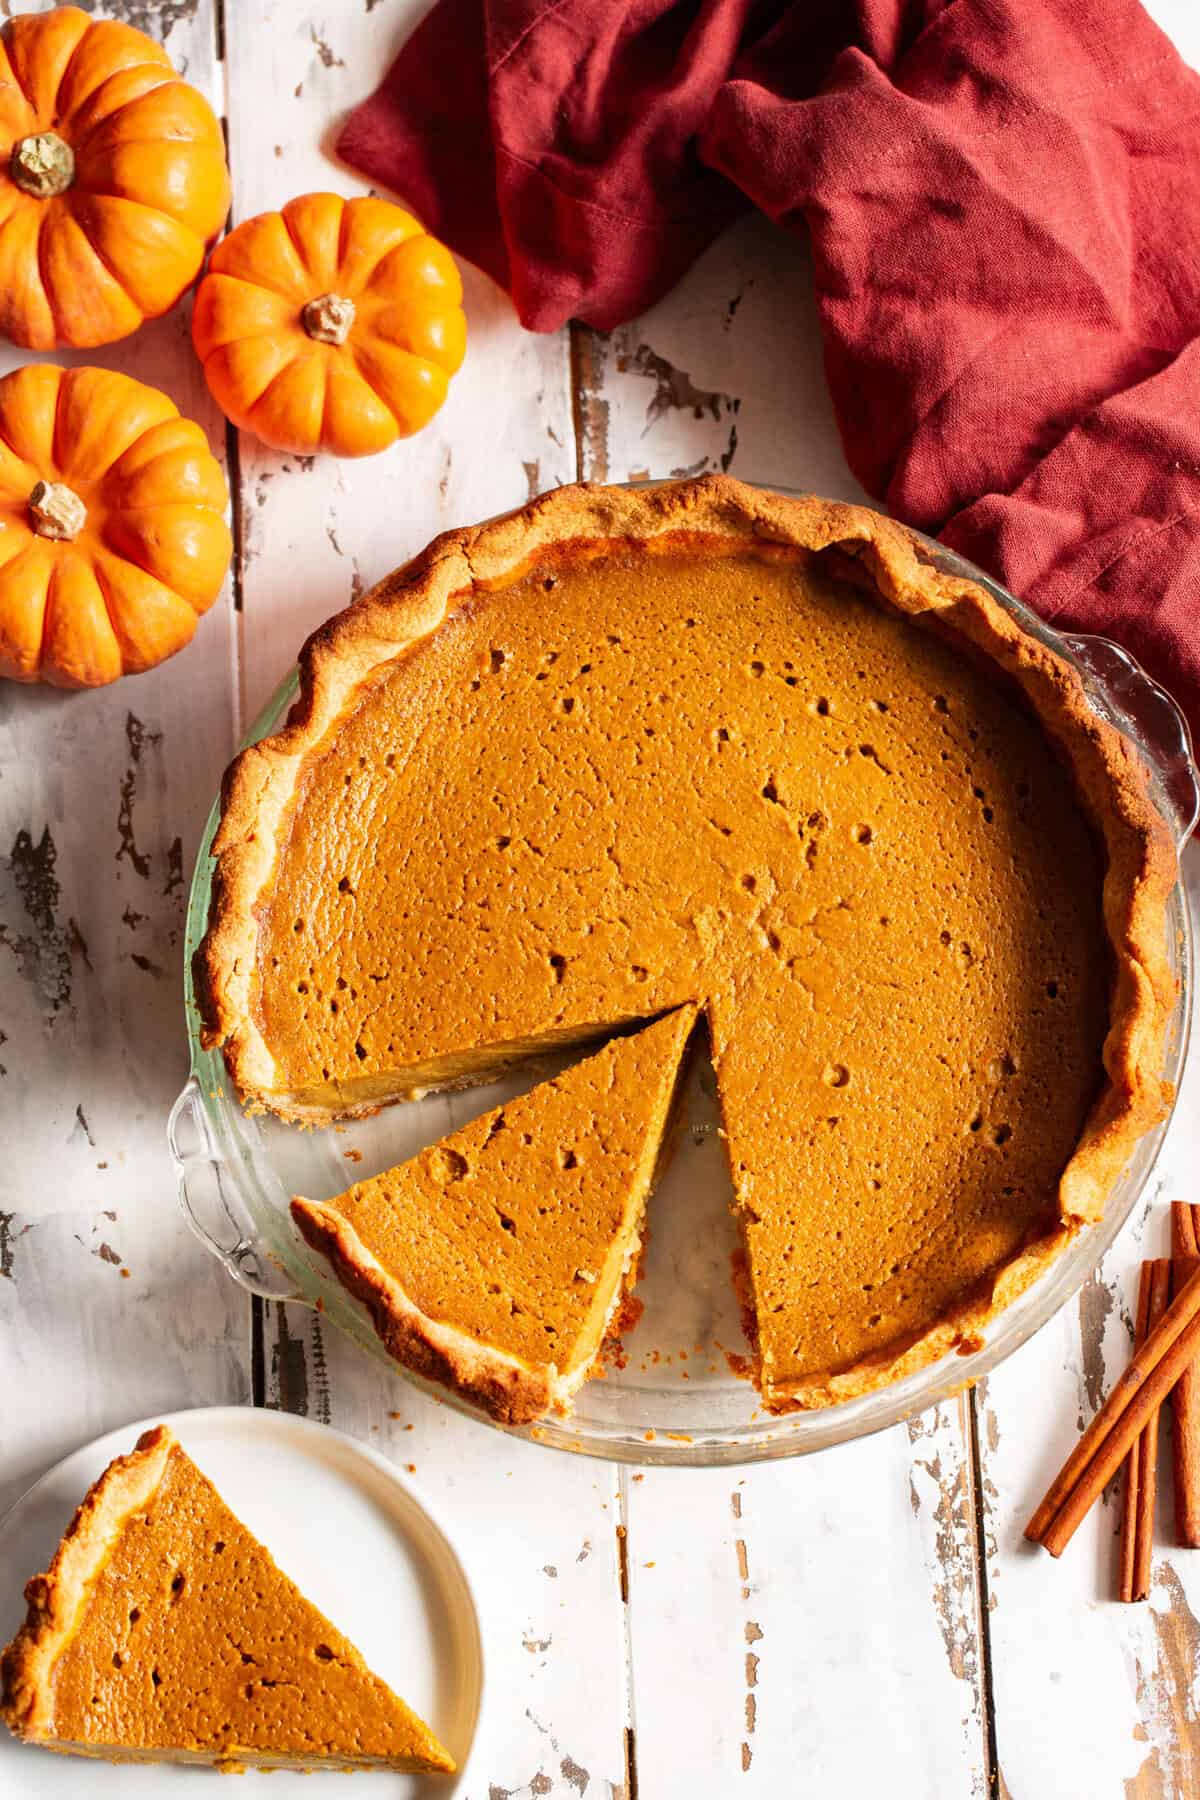
Once you have the crust pressed into your pie dish and partially baked (this helps avoid a soggy bottom crust) you’re almost there!
Just pour in the filling, bake, and cool completely at room temperature.
The “room temperature” part is key – if your pie cools too fast, the filling can crack excessively. Keep in mind that even if your pie filling cracks (cracks are totally normal), the taste isn’t affected at all.
You always have pretty dollops of coconut whipped cream to cover them up!
I hope you guys are excited about the upcoming holidays with this delicious paleo pumpkin pie! Stay tuned for an equally festive apple dessert, and yet another pumpkin one this weekend. Enjoy!
Classic Paleo Pumpkin Pie
Classic Paleo Pumpkin Pie {with Crust Recipe}
Ingredients
For the Paleo pie crust:
- 1 cup blanched almond flour
- 2 Tbsp coconut flour sifted
- 2/3 cup tapioca flour
- 1/2 cup palm oil shortening cold, or grassfed butter, or a combination of both
- 1 Tbsp Maple Sugar or coconut sugar*
- 1/2 tsp fine grain sea salt
- 1 egg
For the Filling:
- 15 oz can pumpkin puree organic
- 2/3 cup full fat coconut milk blended - or heavy whipping cream if using dairy
- 6 tablespoons pure maple syrup increase to 1/2 cup for sweeter pie
- 2 teaspoons pure vanilla extract
- 1 tablespoons pumpkin pie spice
- 1 1/2 teaspoons cinnamon
- 1 tablespoon tapioca flour
- Pinch sea salt
- 3 large eggs at room temperature
Instructions
Make the Crust:
-
Preheat your oven to 375 degrees F. In the bowl of a food processor, pulse all crust ingredients EXCEPT egg to create thick crumbs, then pulse/process in the egg until a dough forms.
-
Gather the dough into a ball, wrap in plastic, and chill in the refrigerator at least 20 minutes prior to rolling or pressing into your pie dish.
-
To get the dough into your pie dish, you can either:
-
Roll out the dough into a circle between two sheets of parchment. Place your pie dish upside-down over the dough, then using the bottom parchment paper, flip the dough into the dish. Finish by pressing it into the bottom and sides of the pie dish to fit - this dough will break easily since it lacks gluten, however it also repairs incredibly easily and can withstand a lot of manipulation without affecting the final product!**
-
If you don't wish to roll out the dough (or find it tricky) you can simply press evenly into 9 inch pie dish using your hands. Be patient and refrigerate dough as needed to make it easier to work with**
-
Once pressed into the pie dish, gently pierce the dough with a fork all over so it doesn't puff up while baking.
-
Bake pie crust in 9” pie dish in the 375 degree oven for 10 minutes until bottom is set, remove from oven and allow to cool for 5 minutes before pouring in filling.
Make the Filling:
-
Whisk all ingredients except eggs, then whisk in eggs and egg yolk 1 at a time, don’t overmix.
-
Pour filling into partially baked crust, spreading it all around to seal edges. Cover crust with aluminum foil and bake (at 375 degrees F) for 55-65 minutes or until center is nearly set (still a bit jiggly) and crust is deep golden brown.
-
Allow to cool completely at room temperature to avoid excessive cracking of the filling. Once cooled, serve, or, cover and store in the refrigerator for up to 2 days prior to serving. Serve topped with coconut whipped cream if desired. Enjoy!
Recipe Notes
*Coconut sugar will cause the crust to darken more than maple sugar
**Unlike a traditional gluten-containing crust, you can't "overwork" the dough, so take your time as needed pressing it into the pie dish
Nutrition
Want More Paleo Holiday Baking Recipes? Try of of these!
Paleo and Vegan Maple Pecan Apple Crisp
Paleo and Vegan Candied Sweet Potatoes
Note: This post contains affiliate links. This means that if you click on a link and make a purchase, I will receive a small commission at no cost to you. Thank you for supporting Paleo Running Momma!


This paleo crust so far is delicious and amazing! I haven’t finished the filling but I expect perfection! Hands down the best recipe I have found.
Absolutely love how basic this recipe is. My daughter is a celiac and diabetic. This ticks all her boxes. Can’t wait to try it.
We made this last year- delicious! We plan to make it again, for Thanksgiving, tomorrow.
Thankful for many things this year,(2020), including the yummy recipes on Paleorunningmomma.com- thank you!
I made this for Thanksgiving dinner today! Super easy and so good!! Thanks!!!
Oh my goodness! This pie is delicious. Even my gluten guests loved it!
The crust was so crispy and the whole pie is full of flavor!
This was AMAZING! Everything about it- the crust, the filling. Perfect texture! My husband even loved it. THANK YOU FOR THIS RECIPE!!!
The cook time of 55 min was WAY too long for me. Im glad I checked because it was done in about 25-30. Is that time wrong?? Seems long for GF baking.. Also, there was not enough filling. Basically equal depths of crust to filling so that was a little disappointing. I also thought it was quite sweet enough. I followed the recipe almost exactly. My fiancee did really like it tho!
I just made this pie and it is great! I live in Florida just in case that changes the bake time. My pie was done in 35 minutes which is usually the amount of time it takes for all my grain free baking. The crust came out perfect. I did refrigerate the crust for 30 minutes and I did roll it out between parchment paper. Mine did not stick to the paper as some one reviewer reported. I believe it may be because I sprinkled the parchment paper with arrowroot flour first. I also used arrowroot flour instead of tapioca and it did still work. I put 4 tbsp. of maple syrup instead of 6 and I also added 5 drops of Stevia. I will make this recipe again and use the crust for future pies. I hope this review helps someone. Enjoy!!!
A-mazing crust. Will use it for everything.
I used mykonos butter substitute.
Will use 1.5x filling text time.
Thorough instructions helped make it a success.
Can you sub coconut sugar for maple syrup?