This paleo pumpkin pie has a creamy maple-sweetened filling and tender almond flour crust. Gluten free, dairy free, and perfect for Thanksgiving!
*Originally published in September 2017. Updated with clearer instructions, ingredient tips, and make-ahead guidance, as well as updated ingredients measurements to reflect my most recent recipe tests.
Want more paleo baking recipes that taste just like the real deal? Purchase my book, Paleo Baking at Home here!
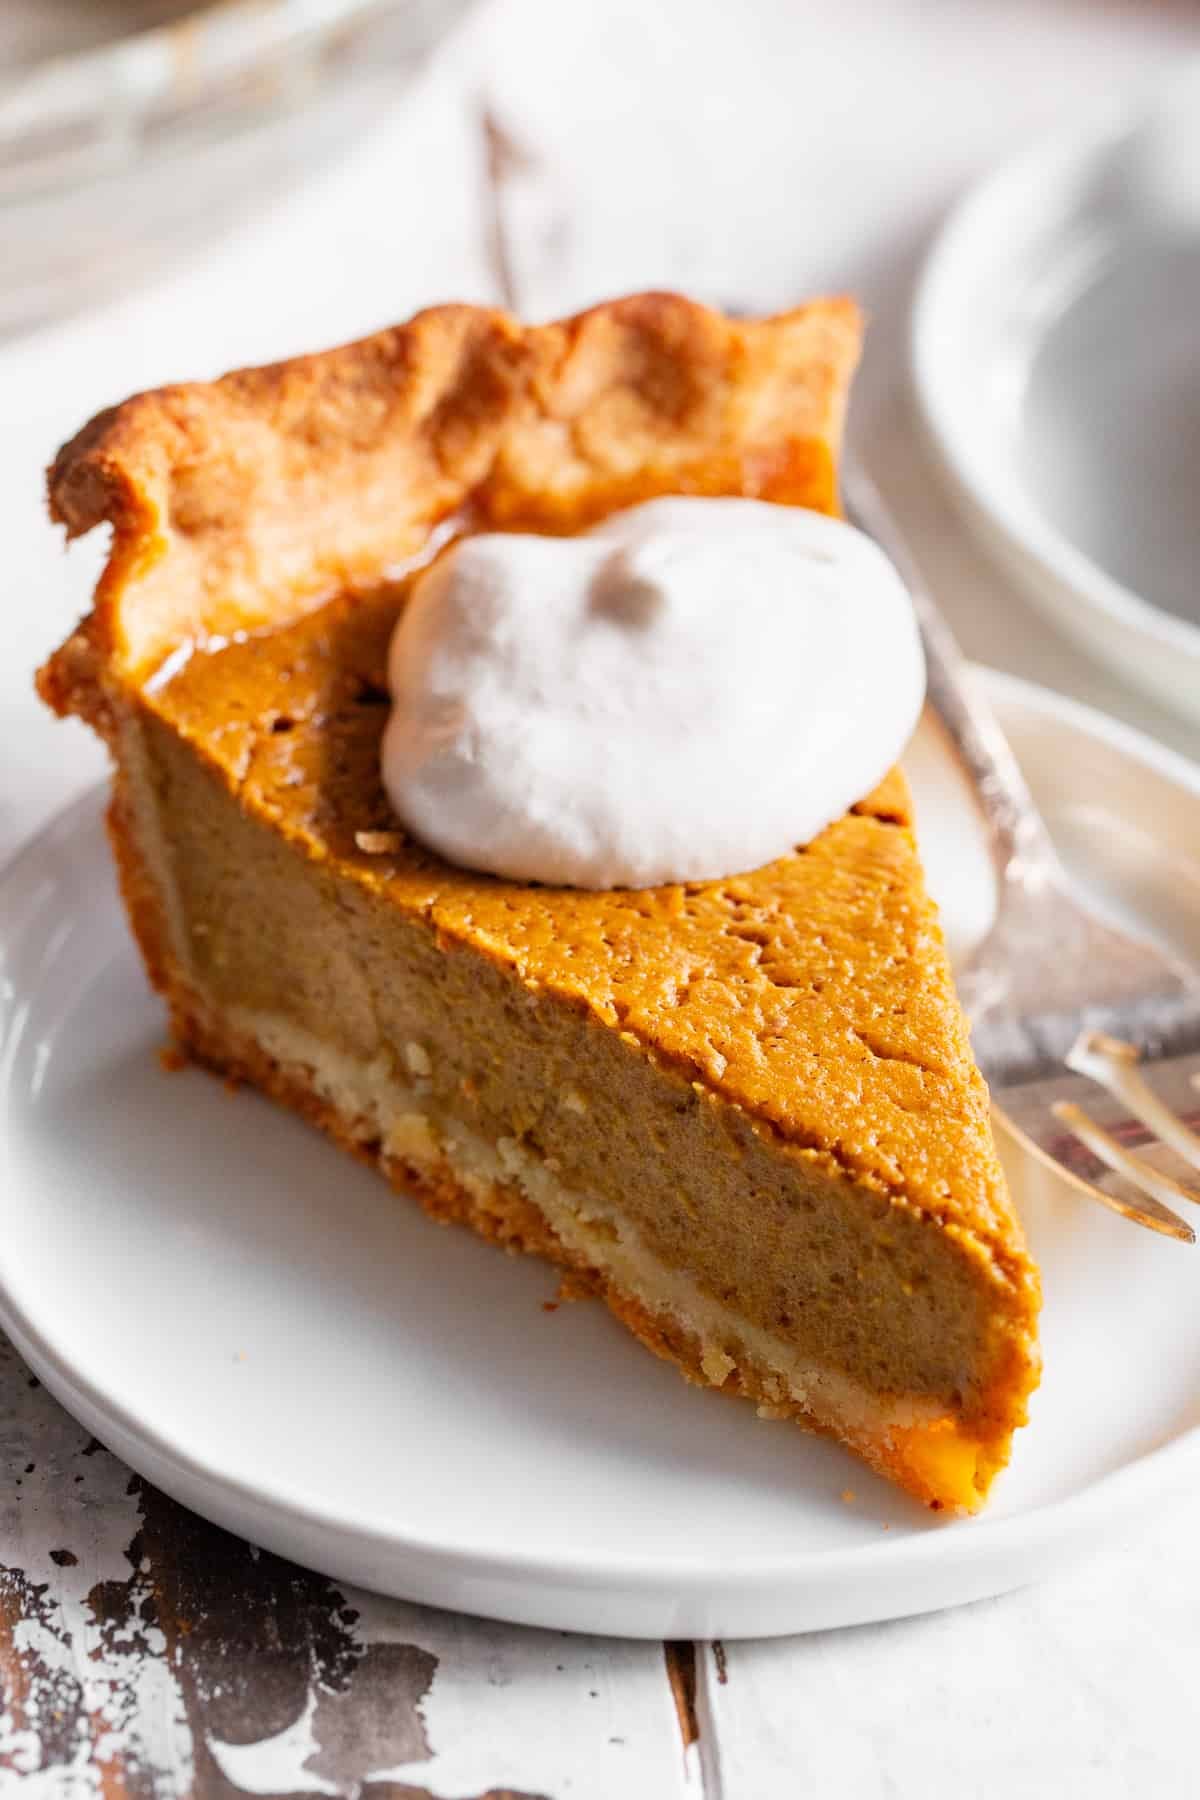
This paleo pumpkin pie has a smooth, creamy pumpkin filling, plenty of warm spice, and a tender homemade almond flour crust. Sweetened with maple syrup and made with coconut milk, the filling has all the classic pumpkin pie flavor I want on my Thanksgiving table. Use palm shortening in the crust to keep the entire pie dairy free, too!
Pumpkin pie is one of those holiday desserts where I want the familiar version: a lightly sweet, spiced filling and a crust that holds together when you cut a slice. When I first developed this recipe, I made four pies to get the combination just right.
The filling comes together with a whisk, and the grain-free crust is forgiving enough to press directly into the pan. No perfect rolling or pie-crust skills required! You can also bake it a day ahead, which makes it especially helpful when you’re planning a big holiday meal.
Why You’ll Love This Paleo Pumpkin Pie
- Classic pumpkin flavor. Pumpkin, maple syrup, vanilla, cinnamon, and pumpkin pie spice give the filling its familiar holiday flavor.
- A homemade gluten-free crust. Almond flour, tapioca flour, and a small amount of coconut flour create a tender crust that works beautifully with the creamy filling.
- Easy dairy-free option. Use palm shortening in the crust and full-fat coconut milk in the filling.
- No rolling required. Press the dough into your pie plate, or roll it between sheets of parchment if you prefer.
- Make-ahead friendly. Bake the pie the day before serving and refrigerate it overnight.
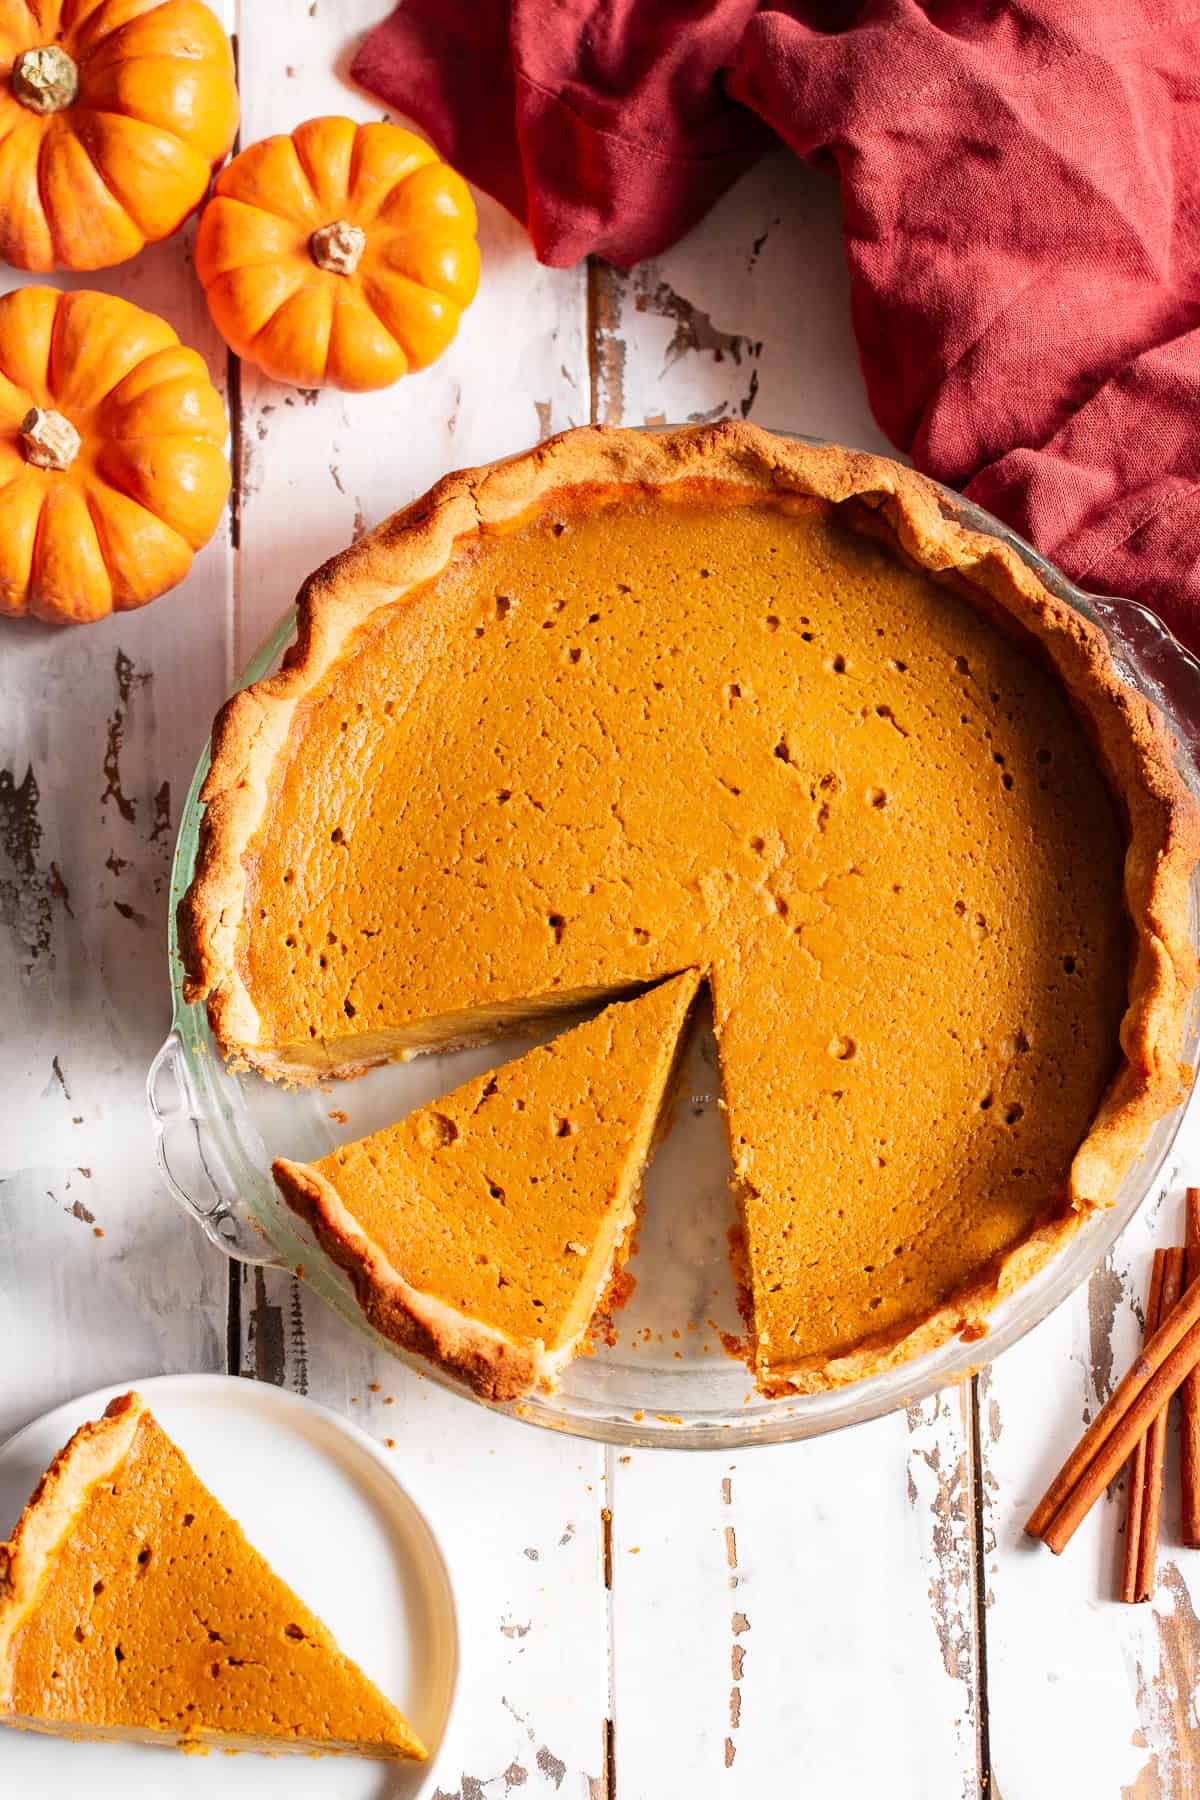
Ingredients You’ll Need
The complete measurements are in the recipe card below. Here are the ingredients that make the biggest difference.
For the crust:
Blanched almond flour: Use finely ground blanched almond flour for a smoother crust. Coarser almond meal will give it a different texture.
Tapioca flour: Also labeled tapioca starch, this helps balance the almond flour and gives the dough structure.
Coconut flour: Just two tablespoons are needed. It absorbs moisture differently from almond flour, so don’t substitute the two tablespoon for tablespoon.
Palm shortening or butter: Use cold palm shortening for a dairy-free crust. If you tolerate dairy, grass-fed butter or a combination of butter and palm shortening also works. Coconut oil did not work well in my original testing, so I don’t recommend it here.
Maple sugar or coconut sugar: A tablespoon adds a little sweetness. Coconut sugar makes the crust darker.
Egg and fine sea salt: The egg helps bind the dough, and the salt balances the flavor.
For the filling:
Pumpkin puree: Use a 15-ounce can of plain pumpkin puree, not sweetened pumpkin pie filling.
Full-fat canned coconut milk: Stir or blend the cream and liquid together before measuring. Use the mixed milk rather than only the thick cream at the top. Refrigerated coconut milk beverages are thinner and aren’t a direct replacement.
Pure maple syrup: Six tablespoons make a moderately sweet pie. For a sweeter filling, use the original recipe’s option of 1/2 cup.
Vanilla, pumpkin pie spice, and cinnamon: This recipe uses both pumpkin pie spice and additional cinnamon for a warmly spiced filling.
Tapioca flour: A tablespoon helps the filling set.
Eggs: You’ll need three large eggs for the filling, separate from the egg in the crust. Bring the filling eggs to room temperature so they mix in easily.
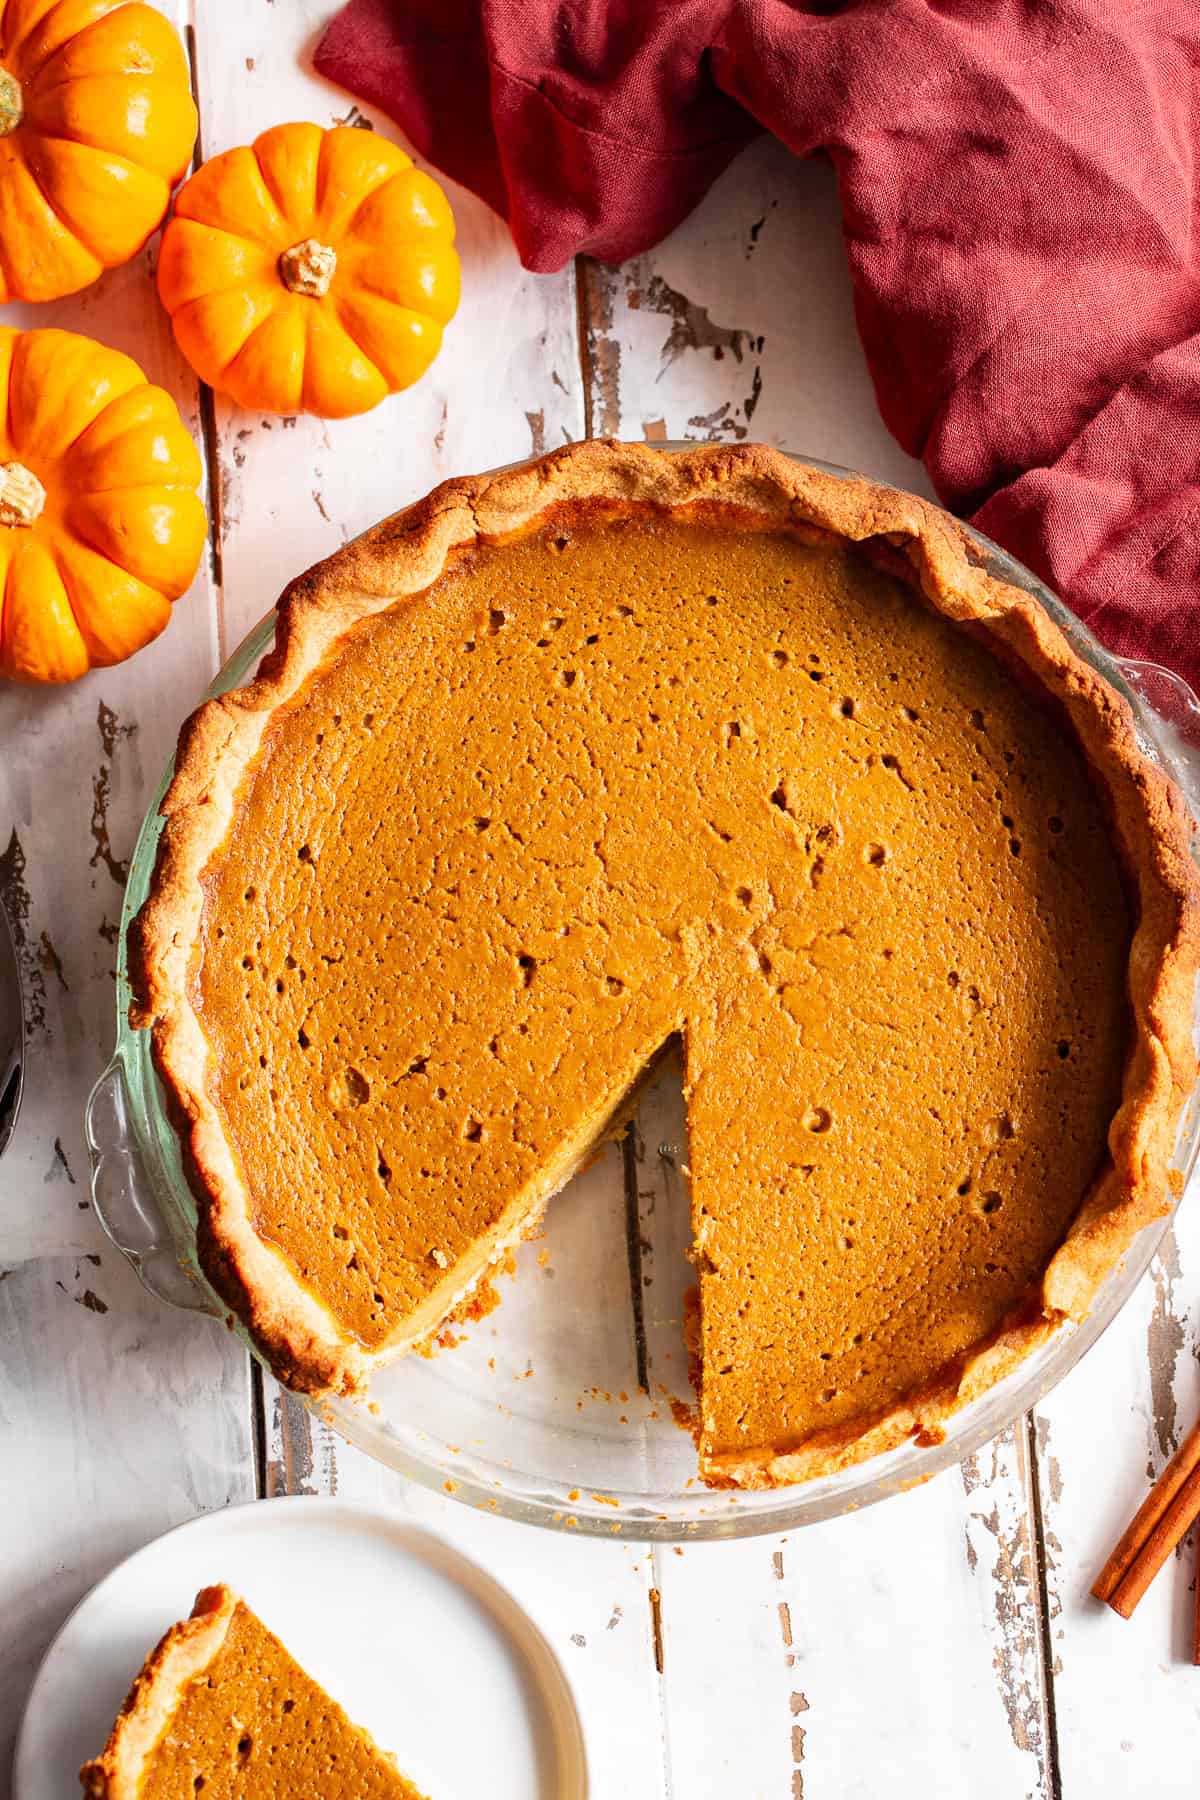
How to Make Paleo Pumpkin Pie
1. Make and chill the crust dough
Pulse the crust ingredients except the egg in a food processor until the mixture forms coarse crumbs. Add the egg and pulse just until the dough comes together.
Gather the dough into a ball, wrap, and refrigerate for at least 20 minutes. The chilled dough will be easier to handle.
2. Shape and partially bake the crust
Preheat your oven to 375°F. Press the dough evenly into the bottom and up the sides of a 9-inch pie plate. You can also roll it between two sheets of parchment and transfer it to the plate.
If the dough cracks, press the pieces back together. If it becomes too soft or sticky, refrigerate it briefly before continuing.
Prick the bottom gently with a fork, then bake for 10 minutes, until the bottom is set. Let the crust cool for 5 minutes before adding the filling. Keep the oven at 375°F.
3. Whisk the pumpkin filling
In a large bowl, whisk together the pumpkin puree, coconut milk, maple syrup, vanilla, spices, tapioca flour, and salt until smooth.
Whisk in the eggs one at a time, just until incorporated. Avoid beating lots of air into the filling.
4. Fill and bake
Pour the filling into the partially baked crust and smooth the top. Cover the exposed crust edges with a pie shield or strips of foil, leaving the filling uncovered.
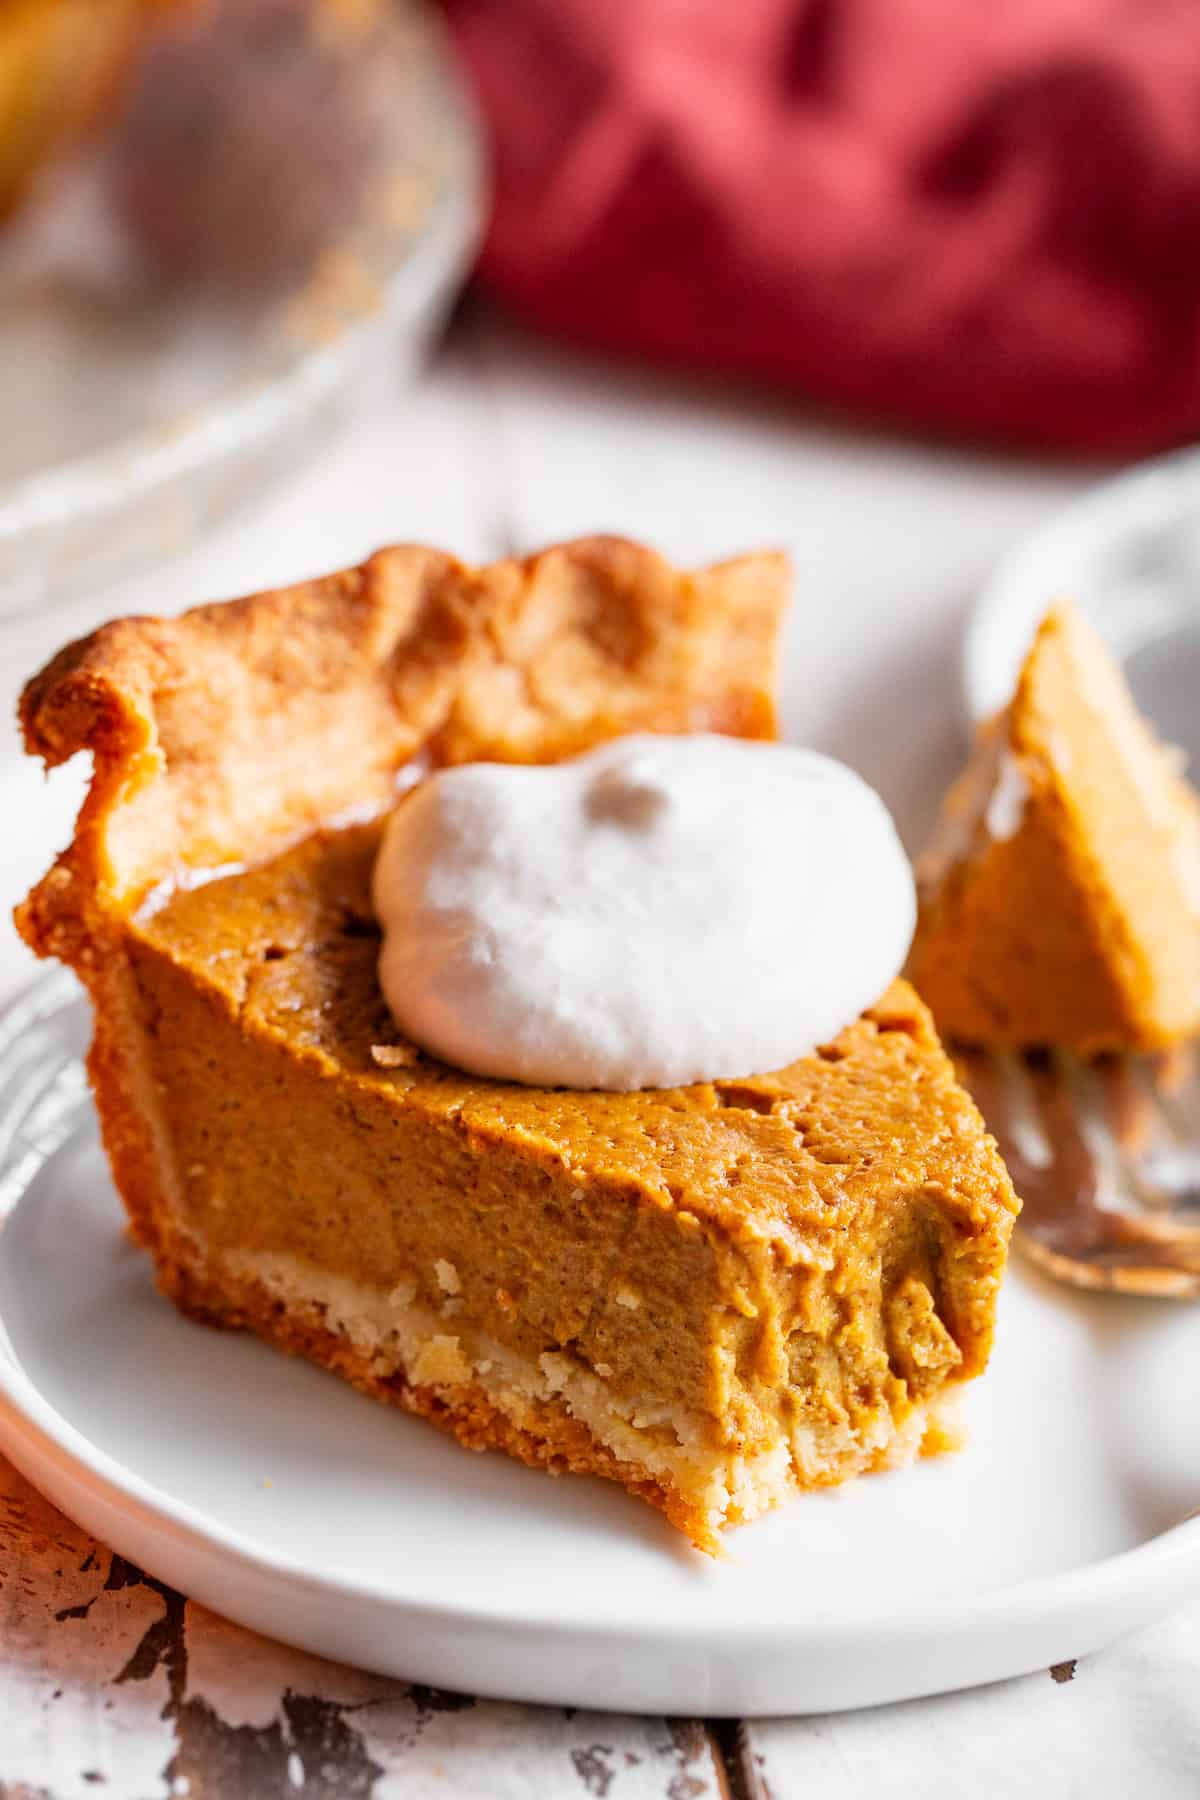
Bake for 55–65 minutes, checking toward the earlier end of the range. The outer filling should be set, while a small area in the center still has a gentle wobble when you carefully move the pan. It should not ripple like liquid.
5. Cool and chill
Place the pie on a wire rack to cool, then transfer it to the refrigerator within 2 hours of baking. Let it chill until fully set before slicing; overnight is convenient if you’re making it ahead.
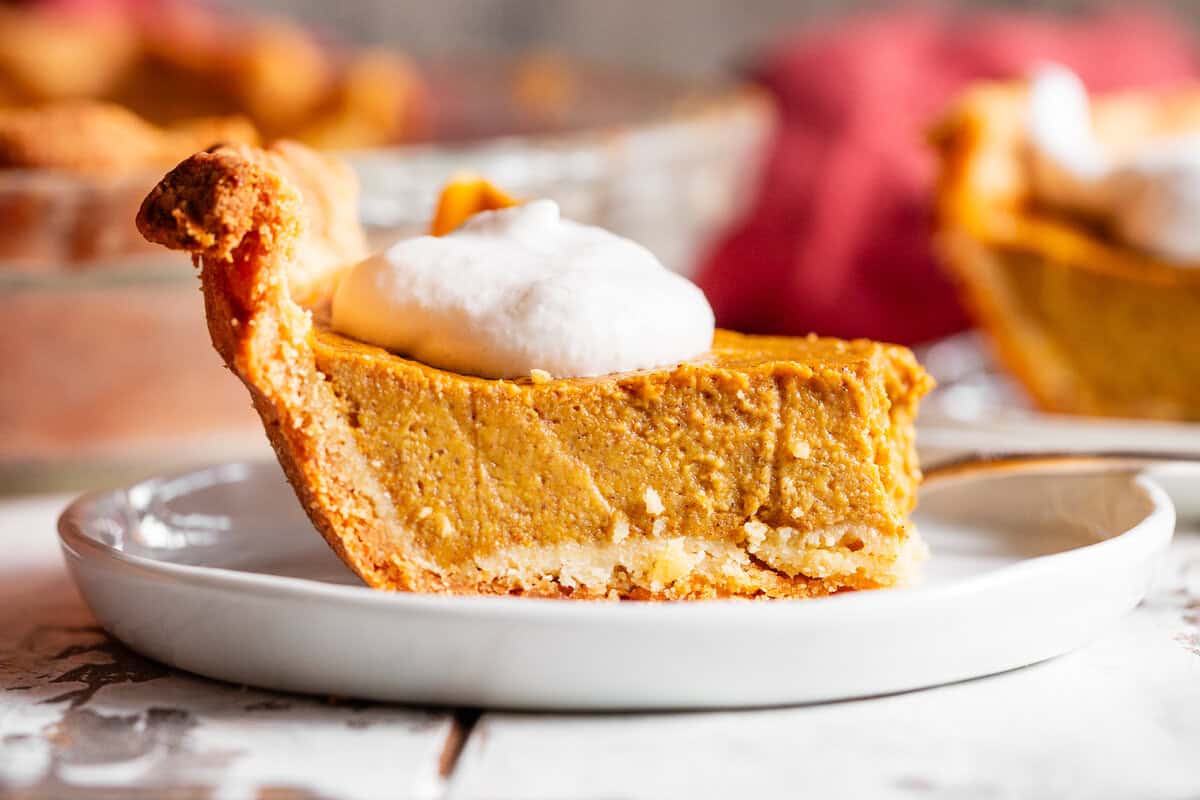
Serve with coconut whipped cream, if desired.
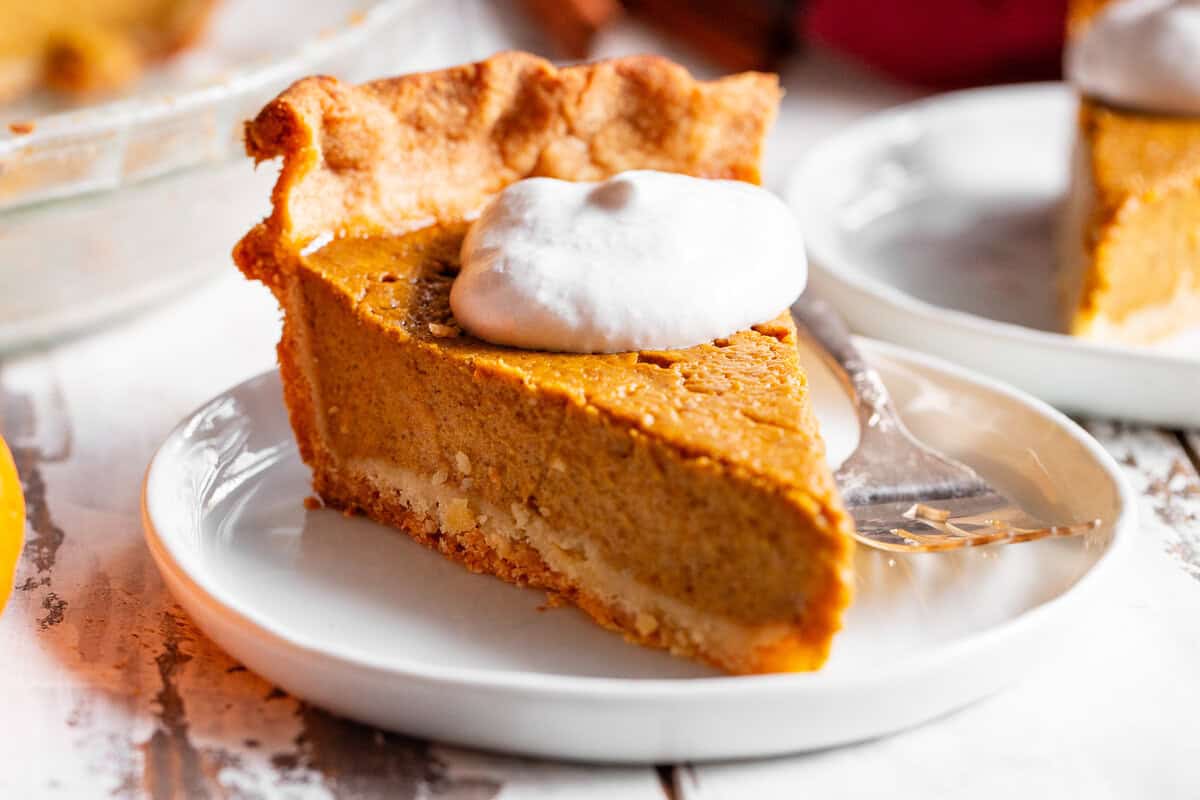
Tips for the Best Pumpkin Pie
Keep the crust fats cold. If the dough becomes greasy or difficult to handle, a short rest in the refrigerator will help.
Don’t skip the partial bake. Baking the crust before adding the custard helps keep the bottom from becoming soggy.
Shield the crust edges. Nut-flour crusts brown readily, and this pie needs a fairly long bake. Protect the rim while leaving the filling exposed.
Watch the filling, not just the clock. Ovens and pie plates vary. Look for set edges and a gently wobbling center rather than waiting for the whole surface to become completely firm in the oven.
Let the pie set before slicing. A warm custard won’t cut as neatly as a fully cooled and chilled one.
A crack doesn’t ruin the pie. Overbaking can contribute to cracks, but a cracked pie is still delicious. Add a little coconut whipped cream and enjoy it!
Make-Ahead and Storage
To make ahead: Bake the pie 1–2 days before serving. Cool on a rack, refrigerate within 2 hours, and cover once chilled. Add whipped cream shortly before serving.
To store leftovers: Keep the pie covered in the refrigerator and use within 3–4 days of baking. Don’t leave it at room temperature overnight.
To freeze: Freeze the fully cooled pie, well wrapped, for up to 1 month for best quality. Thaw overnight in the refrigerator.
The crust may soften slightly after thawing, so refrigerating is my first choice when making it just a day or two ahead. Add toppings after thawing.
Frequently Asked Questions
Is this pumpkin pie dairy free?
Yes, when you use palm shortening in the crust and coconut milk in the filling. Butter and heavy cream are optional substitutions for readers who eat dairy, but the pie is no longer dairy free with those ingredients.
Can I use coconut oil in the crust?
I don’t recommend it for this recipe. During my original testing, coconut oil made the crust greasy during baking and crumbly afterward. Stick with palm shortening, butter, or a combination of the two.
Can I replace the almond flour with another flour?
This crust was developed with a specific combination of almond, tapioca, and coconut flours. A one-for-one swap with coconut flour or a gluten-free all-purpose blend won’t necessarily work. If you need a nut-free pie, use a crust specifically developed without almond flour.
Can I make the pie without eggs?
The eggs give the filling its custard structure and help bind the crust. I haven’t established an egg-free substitution for this recipe, so I wouldn’t recommend replacing them without additional testing.
How do I know when pumpkin pie is done?
The filling should be set around the edges with a small, gently wobbling area in the center. If the center looks loose or sloshes when the pan moves, it needs more time. It will continue to firm as it cools.
Can I use heavy cream instead of coconut milk?
Yes. The original recipe includes heavy whipping cream as an equal-amount alternative for readers who use dairy. Use 2/3 cup in place of the coconut milk.
More Paleo Holiday Desserts
If you’re planning your holiday dessert table, try my:
Pumpkin Bars with “Cream Cheese” Frosting
I hope this pumpkin pie finds a place on your holiday table!
Serve it with a dollop of coconut whipped cream, and let me know how it turns out in the comments. If you make it, I’d love for you to leave a rating below, too.
Paleo Pumpkin Pie with Almond Flour Crust
Ingredients
Crust:
- 1 cup blanched almond flour
- 2 tablespoons coconut flour sifted
- 2/3 cup tapioca flour or arrowroot flour
- 1/2 cup palm shortening or grass-fed butter, or a combination, cold. Use all palm shortening for dairy free
- 1 tablespoon maple sugar or coconut sugar
- 1/2 teaspoon fine sea salt
- 1 large egg
Filling:
- 1 15-ounce can pumpkin puree
- 2/3 cup full-fat canned coconut milk stirred or blended smooth before measuring
- 1/2 cup pure maple syrup add 1-2 tablespoons more for a sweeter pie
- 2 teaspoons pure vanilla extract
- 1 tablespoon pumpkin pie spice
- 1 1/2 teaspoons ground cinnamon
- 1 tablespoon tapioca flour or arrowroot flour
- Pinch fine sea salt
- 3 large eggs at room temperature
- Coconut whipped cream for serving, optional
Instructions
-
Make the dough: Add the almond flour, coconut flour, tapioca flour, cold shortening or butter, maple sugar, and salt to a food processor. Pulse until coarse crumbs form. Add the crust egg and pulse just until a dough forms.
-
Chill: Gather the dough into a ball, wrap, and refrigerate for at least 20 minutes. Preheat the oven to 375°F.
-
Shape the crust: Press the dough evenly into the bottom and up the sides of a 9-inch pie plate. Alternatively, roll between two sheets of parchment, transfer to the plate, and press into place. Patch cracks with your fingers. Chill briefly if the dough becomes too soft.
-
Partially bake: Gently prick the bottom of the crust with a fork. Bake for 10 minutes, until the bottom is set. Cool for 5 minutes. Keep the oven at 375°F.
-
Mix the filling: In a large bowl, whisk together the pumpkin puree, coconut milk, maple syrup, vanilla, pumpkin pie spice, cinnamon, tapioca flour, and salt until smooth. Whisk in the 3 filling eggs one at a time, just until combined. Do not beat until frothy.
-
Fill and shield: Pour the filling into the partially baked crust and smooth the top. Cover only the exposed crust edges with a pie shield or strips of foil, leaving the filling uncovered.
-
Bake: Bake at 375°F for 50–60 minutes, until the filling is set around the edges and only the center has a slight wobble. Begin checking at 45 minutes; timing varies by oven and pie plate.
-
Cool and chill: Cool on a wire rack, then refrigerate within 2 hours of baking. Chill until fully cooled and set before slicing. Cover once chilled if storing overnight.
-
Serve: Slice and serve with coconut whipped cream, if desired. Refrigerate leftovers. Enjoy!
Recipe Notes
- Dairy free: Use palm shortening in the crust and coconut milk in the filling. Butter and heavy cream contain dairy.
- Dairy option: Substitute 2/3 cup heavy whipping cream for the coconut milk, if desired.
- Coconut milk: Blend or stir together the solid cream and liquid before measuring. Do not substitute a carton coconut milk beverage.
- Crust fat: Coconut oil is not recommended for this crust based on the original recipe testing.
- Sweetness: Keep the original 6 tablespoons maple syrup for a moderately sweet filling, or use 1/2 cup for a sweeter version.
- Crust color: Coconut sugar gives the crust a darker color than maple sugar.
- Make ahead: Bake 1–2 days before serving and refrigerate. Add whipped cream shortly before serving.
- Storage: Refrigerate within 2 hours of baking and use within 3–4 days. Freeze well wrapped for up to 1 month for best quality; thaw in the refrigerator.
Nutrition
Note: This post contains affiliate links. This means that if you click on a link and make a purchase, I will receive a small commission at no cost to you. Thank you for supporting Paleo Running Momma!










Wow! I’m so relieved and happy I baked this after a different dairy free recipe was a total flop. I learned I hate sweetened condensed coconut milk; sickly sweet with an overpowering coconut flavor. I sadly tossed that one and I can’t stand to waste. This one is so perfectly lightly sweetened, spiced, and custardy rich. A slice with coffee hits the spot. I’m so happy I found your site and gave this a chance despite my doubts w/ the coconut. Thank you!
Any idea why mine came out with an uneven color? I just took it out of the oven and it’s all cooked, but parts of it are darker brown and then there are sweeps of lighter brown throughout in weird patterns. There was also a light layer of oil on top that I blotted with a paper towel. I think it’ll still taste good, but I’m not sure what happened!
I baked it uncovered for about 30 minutes then covered with foil pieces the crust (it was not as easy to do while the pan was hot haha but cooked through quicker) and baked another 15 minutes and it was absolutely perfect. Sooooo delicious! Haven’t made a recipe I don’t like by PRM. And I love how easy the crust is to make – I just pressed it into the pan.
I guess I’m doing something wrong. I’ve made this crust 3 times now and each time it ended up melted when I blind baked it. Never had that happen before.
I’ve followed the directions to a T and now I’m feeling pretty defeated. It’s my first time using this recipe but definitely not my first pie crust. Please help! I use beans to blind bake the crust. And it just keeps melting.
I did sub the palm oil for regular grass fed cold butter, but other than that everything is the same.
I made it with cold kerrygold butter and it turned out really well. Was your butter cold? I didn’t put any beans or anything. I just poked the bottom of the crust with a fork. Good luck!
Anyone have any luck using this filling recipe to make a crustless pie?
Crust was overcooked at 55 minutes and I used a foil cover the entire time ! The pie filling was firm . I will try again and I will go for 30 minutes and see if that help’s !
The crust is fantastic. I will make a note to use unsalted butter next time
This review is for the pie crust, holy cow it’s good! This is the first pie crust I have ever made. I used ghee and it turned out great!! (Someone else in the reviews said ghee doesn’t work, but it definitely does!) I refrigerated the dough over night and then after pressing into the pie crust I put it back in the fridge while the oven was preheating. The only thing the was strange was that the edges started browning in the first 10m I baked it 😬. I am baking at high altitude (over 8,000 ft up) so this may be why. I’ll probably bake it for less time or lower temp for the initial bake next time. I also wish I had a little more dough to work with to create a thicker crust around the edges so I am going to increase the amount of the recipe next time. It is totally worth the effort. Go for it!!
Using maple syrup and tapioca flour (pure starch) is not paleo. Maple syrup is heavily processed to make it so sweet, by boiling it down so long. Tapioca flour has most good nutrients removed to give you starch, which turns to sugar extremely quickly.
Instead, try a sugar alcohol or something like allulose or stevia, or a combination. Omit the tapioca starch and add some almond flour.
Can I use almond milk if I don’t have coconut milk on hand for the filling?